


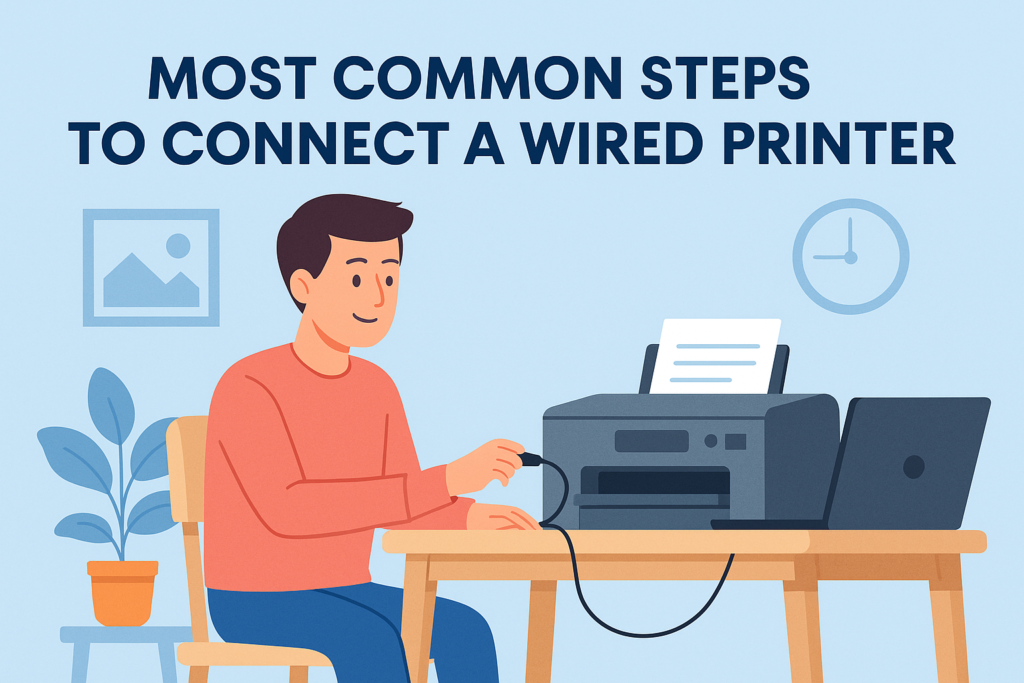
Most Common Steps to Connect a Wired Printer
Setting up a wired printer is quick and easy, especially when following a few simple steps. This method offers a reliable connection for smooth and consistent printing performance.
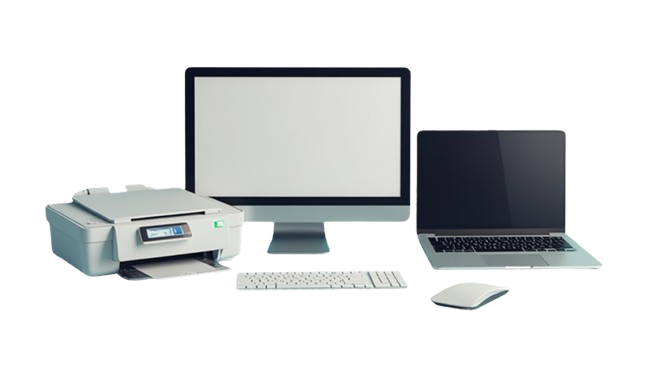
Begin by unboxing the printer and placing it near your computer. Connect the power cord to a working outlet and turn on the device. Using a compatible USB cable, connect the printer directly to your computer. Most systems will automatically detect the new hardware.
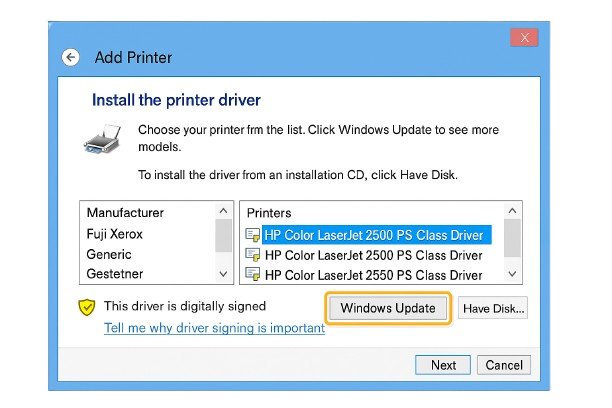
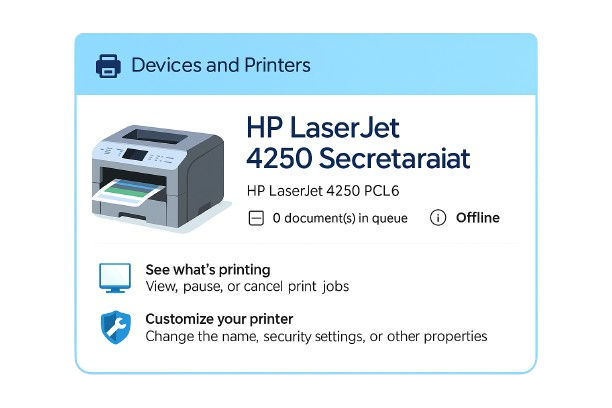
On your computer, go to Settings > Devices > Printers & Scanners and click Add a printer or scanner. Select your printer from the list and follow the on-screen instructions to complete the setup.
Once the connection is established, load paper into the tray and ensure ink or toner is properly installed. Print a test page to confirm everything is working correctly. Wired printers offer a stable setup ideal for both home and office use.