


-
Sale!

Refurbished Smart Tank 210 WiFi Colour
Original price was: $132.00.$72.00Current price is: $72.00. Add to basket -
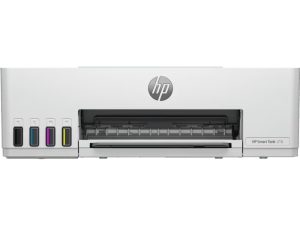
Sale!

Refurbished Smart Tank 529 All-in-One
Original price was: $210.00.$135.00Current price is: $135.00. Add to basket -
Sale!
Refurbished Smart Tank 589
Original price was: $220.00.$170.00Current price is: $170.00. Add to basket -
Sale!

Refurbished Smart Tank 520
Original price was: $260.00.$210.00Current price is: $210.00. Add to basket -
Sale!
Refurbished Smart Tank 521
Original price was: $90.00.$70.00Current price is: $70.00. Add to basket -
Sale!
Refurbished Smart Tank 790 Wi Fi Duplexer with ADF and Magic Touch Panel
Original price was: $163.00.$92.00Current price is: $92.00. Add to basket -
Sale!

Refurbished Smart Tank 525
Original price was: $162.00.$130.00Current price is: $130.00. Add to basket -
Sale!
Refurbished Laser MFP 1188fnw Printer
Original price was: $80.00.$56.00Current price is: $56.00. Add to basket
